Walk through almost any outdoor market or preparedness expo in the USA and you will find freeze dried fruit in every booth. But quietly, behind closed kitchen doors, a growing number of home freeze dryer owners have discovered something that might be even more exciting: freeze dried cheese that crackles and crunches like a chip, tastes richer than anything from a bag, and lasts years in sealed storage.
If you have ever bought those tiny snack packs of Moon Cheese or Whisps at the grocery store and thought "these are incredible but way too expensive," then freeze drying your own cheese at home is about to change your snacking life completely. A block of sharp cheddar from Costco that costs less than $10 can produce multiple batches of cheese crisps that would sell for $4 to $6 per small bag commercially.
But cheese is not quite as simple as strawberries or peas when it comes to freeze drying. It has fat. It has oils. It needs a few specific techniques to do well and protect your machine in the process. This guide covers everything — which cheeses work, which to avoid, how to prep each form (block, shredded, and sliced), what to watch for during the cycle, and how to store the results for maximum shelf life.
Best cheeses: Sharp cheddar, colby jack, parmesan, mozzarella | Cycle time: 24 to 32 hours | Shelf life: 6 to 15 years (mylar + oxygen absorbers) | Critical rule: Always use silicone tray mats — no exceptions.
Can You Actually Freeze Dry Cheese at Home?
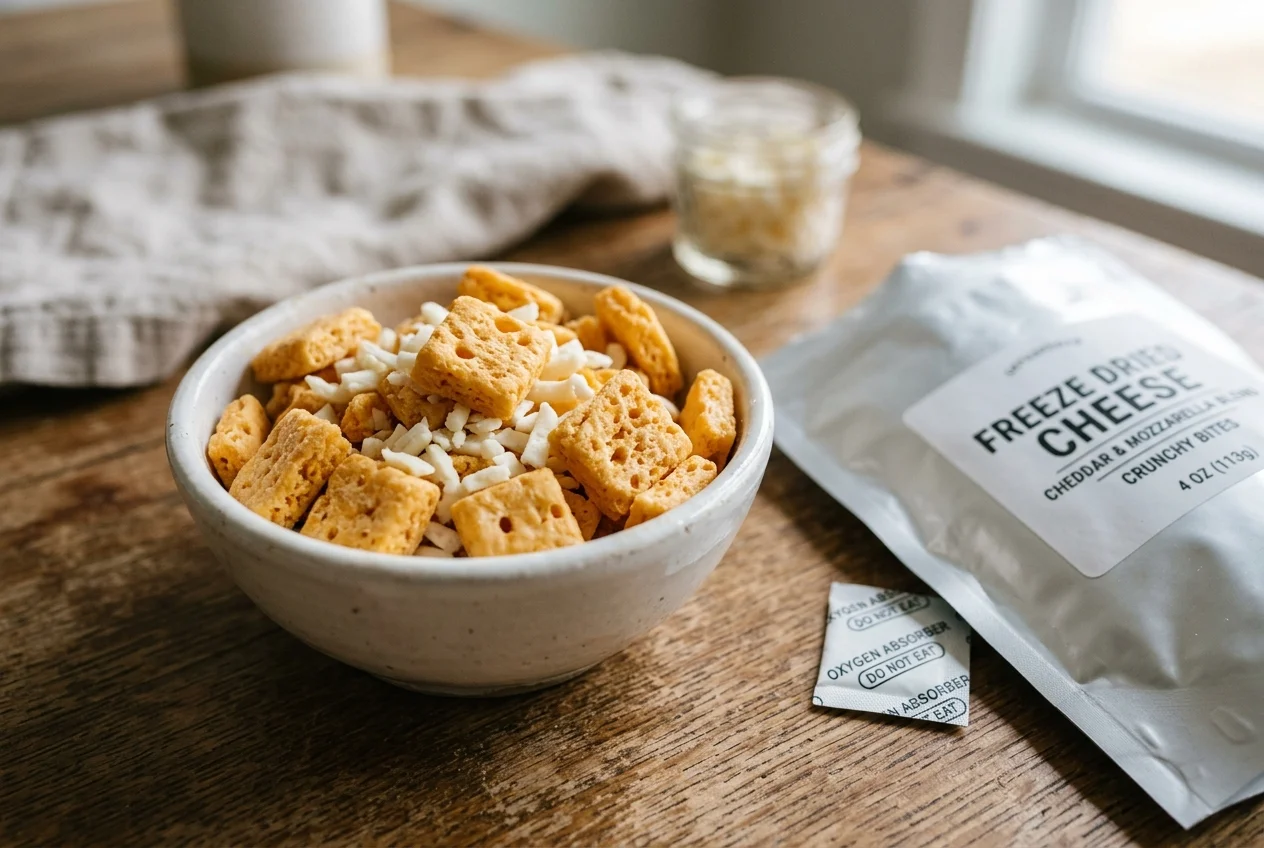
Yes, and the results genuinely surprise people when they try them for the first time. Properly freeze dried cheddar develops a deeply savory, concentrated flavor that is more intense than the fresh block it came from, paired with a satisfying crunch that makes it nearly impossible to eat just one piece.
The reason cheese works so well is that it already has a relatively low moisture content compared to fruits, vegetables, or meat. Hard cheeses like parmesan are as low as 30% water content. Cheddar sits around 36 to 39%. Compare that to a strawberry at 91% water — cheese has much less moisture to remove, which means the freeze drying cycle is working with a head start.
That said, cheese also contains fat — and fat does not sublimate during freeze drying the way moisture does. This is the key characteristic that shapes everything about how you prep cheese, which trays you use, and what shelf life to realistically expect afterward. Understanding the fat factor is the difference between great results and a frustrating mess.
Which Cheeses Freeze Dry Well — and Which to Avoid
Not all cheese is created equal when it comes to freeze drying. The main variables are moisture content, fat content, and texture. Here is a practical breakdown:
| Cheese Type | Freeze Dry Result | Est. Shelf Life | Best Use After Drying |
|---|---|---|---|
| Sharp Cheddar | Excellent ★★★★★ | 8 to 12 years | Snacking, soup topping, trail mix |
| Colby Jack | Excellent ★★★★★ | 8 to 12 years | Snacking, cheese boards, hiking food |
| Parmesan (block) | Excellent ★★★★★ | 10 to 15 years | Grinding into powder for pasta, soups |
| Mozzarella (low-moisture) | Very Good ★★★★ | 6 to 10 years | Pizza topping, pasta dishes, cooking |
| Monterey Jack | Very Good ★★★★ | 8 to 10 years | Snacking, Mexican dishes |
| Swiss / Gruyere | Good ★★★ | 6 to 10 years | Soups, fondue reconstitution |
| Cream Cheese | Poor ★ | 1 to 3 years | Not recommended for long-term storage |
| Brie / Camembert | Poor ★ | 1 to 2 years | Avoid — too much fat and moisture |
| Ricotta / Cottage Cheese | Not recommended | Under 1 year | Do not freeze dry — extremely high moisture |
Never attempt to freeze dry high-moisture soft cheeses like ricotta, cottage cheese, or fresh mozzarella balls packed in water. Their moisture content is so high that they will not produce usable results and can create a mess inside your chamber. Stick to hard and semi-hard block cheeses for reliable home freeze drying.
The Fat Factor: Why It Shapes Everything
Fat behaves differently from water inside a freeze dryer. While moisture sublimates — converting from ice directly into vapor and getting captured by the cold trap — fat simply stays put. It does not go anywhere. As the cycle progresses and moisture removes around it, the fat in cheese can become more concentrated and may seep slightly to the surface of the pieces.
This creates two practical considerations you need to understand before loading your first batch:
1. Always use silicone tray mats. This is the single most important equipment tip for freeze drying cheese. Fat and oils that release during the cycle will soak directly into bare aluminum freeze dryer trays. Once baked in by the extended cycle and the residual heat of the vacuum process, these oils are nearly impossible to fully clean. Silicone mats create a non-stick barrier that protects your trays and makes cleanup a matter of washing a flexible mat rather than scrubbing hardened cheese fat out of aluminum channels.
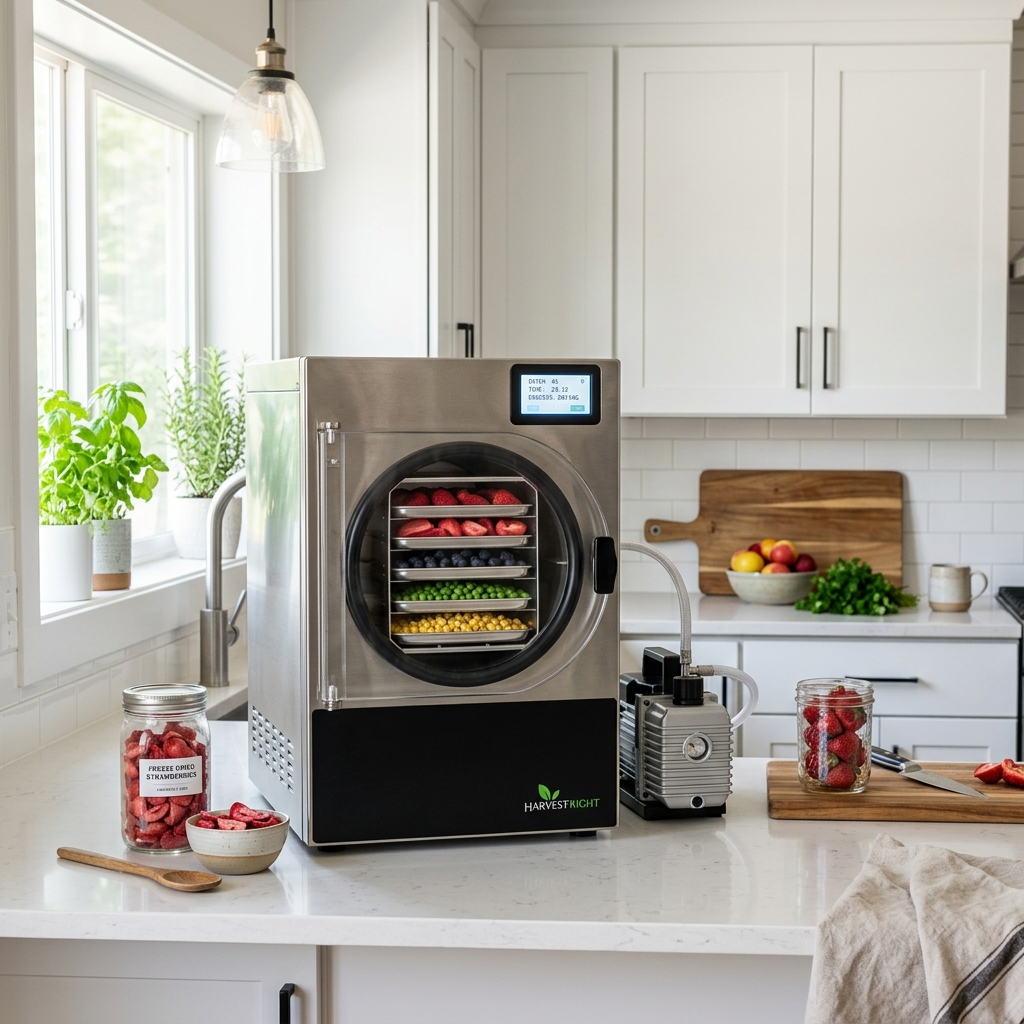
Most Harvest Right freeze dryer owners who freeze dry cheese regularly consider silicone tray mats a mandatory purchase, not an optional accessory. They are widely available on Amazon and from freeze drying supply retailers across the USA.
2. Shelf life is shorter than fruits and vegetables. Because fat remains in the finished freeze dried cheese and undergoes slow oxidation over time, the shelf life of freeze dried cheese is meaningfully shorter than freeze dried produce. Expect 6 to 15 years depending on the fat content of the specific cheese, rather than the 25 to 30 years achievable with fruits and vegetables. This is still impressively long for a dairy product that normally requires refrigeration.
Prepping Each Type: Block, Shredded, and Sliced
Block Cheese
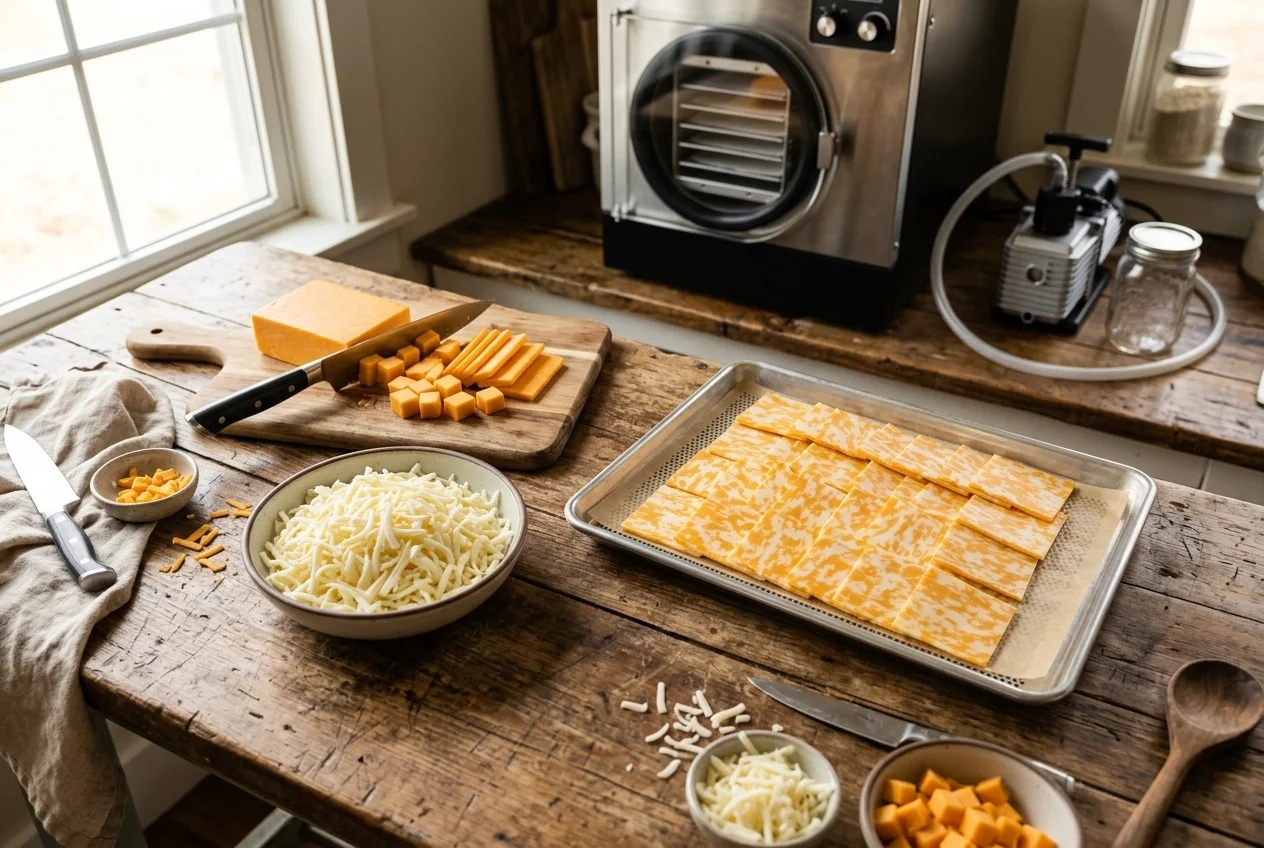
Block cheese is the most versatile format for freeze drying because you control the exact thickness of your slices. Thinner slices dry faster and produce a more uniform crunch. Thicker pieces take longer but can be used differently after drying.
The sweet spot for block cheese is quarter-inch to half-inch slices. Thinner than a quarter inch and the pieces become fragile and prone to crumbling during the cycle. Thicker than half an inch and you risk the center retaining moisture while the outside appears dry — which passes the surface dryness test but fails the true dryness check.
After slicing, blot both sides of each piece firmly with clean paper towels. You will often be surprised how much surface oil comes off on the paper towel even before the cheese goes anywhere near heat. This pre-cycle oil removal reduces the amount of fat that migrates to the tray surface during drying and improves the final texture of the finished product.
Shredded Cheese
Shredded cheese is perhaps the most convenient format to freeze dry because the prep time is essentially zero — open the bag and spread it on the trays. Pre-shredded bags from any grocery store work perfectly. You can also shred your own from a block for better control over thickness.
Spread shredded cheese in an even layer across the silicone mat. Do not pile it deep — a layer roughly half an inch deep is ideal. Deeper piles mean the cheese at the bottom takes significantly longer to dry than the exposed surface pieces, leading to uneven results.
One practical advantage of freeze dried shredded cheese: it reconstitutes beautifully for cooking. A handful of freeze dried mozzarella shreds goes directly onto a pizza, into a casserole, or into a pasta dish and rehydrates in the oven or from the heat of the dish itself. This makes it one of the most immediately practical freeze dried foods in any home food storage setup.
Sliced Cheese
Pre-sliced deli-style cheese works well and requires the least prep of all three formats. Lay slices flat on the silicone mat without overlapping. If slices are the standard deli thickness (roughly an eighth of an inch), they will be among the fastest-drying cheese formats — typically finishing in 20 to 26 hours versus the longer cycles needed for thicker block slices.
One tip for deli slices specifically: if they come separated by parchment paper, leave the parchment in place when arranging on the tray. The parchment acts as an additional barrier between the cheese and the silicone mat and makes transfer much easier after the cycle. Remove the parchment when packaging for storage.
Step-by-Step: How to Freeze Dry Cheese
Step 1: Choose Your Cheese and Prep Format
Select a hard or semi-hard cheese from the recommended list. Remove from refrigeration and allow to sit at room temperature for 15 to 20 minutes before slicing — cold cheese crumbles and slices less cleanly than slightly warmed cheese. Slice, shred, or lay out your slices as described above and blot all surfaces with paper towels to remove surface oils.
Step 2: Fit Silicone Mats on All Trays
Before loading a single piece of cheese, confirm that every tray you plan to use has a properly fitted silicone mat in place. Do not skip this step even once — the first time you run cheese on bare aluminum will be the last time you make that mistake. Once the oils bake in, cleaning those trays becomes a multi-hour project.
Step 3: Arrange Cheese in Single Layers
Lay cheese pieces in a single layer on each mat. Leave small gaps between slices. For shredded cheese, spread evenly to a half-inch depth maximum. Do not stack or overlap — uneven layers produce uneven drying and increase your risk of having soft, underdried pieces mixed in with fully dry ones at the end of the cycle.
Step 4: Pre-Freeze for 4 to 6 Hours
Place your loaded trays in a regular household freezer for a minimum of 4 hours — overnight if your schedule allows. Cheese pre-freezes easily and the frozen trays load cleanly into the machine without any sliding or spilling. Pre-frozen cheese also means your machine skips its own initial freezing phase, shortening the total cycle by 2 to 4 hours per batch.
Step 5: Load and Start the Cycle
Move your pre-frozen trays directly from the household freezer into the freeze dryer chamber quickly. Close and latch the door and press Start. The machine handles everything automatically from this point. For most hard cheeses, expect the cycle to run 24 to 32 hours. Thinner deli slices may finish in 20 to 24 hours. Thicker block slices can take up to 34 hours. Let the machine determine when the cycle is complete — do not end it early.
Step 6: The Dryness Test and Oil Blot
When the cycle completes, open the chamber and perform two checks before packaging anything.
Oil check first: Look at the surface of the cheese pieces and the silicone mats. You will often see a faint sheen of oil on the pieces — this is normal and expected. Use fresh paper towels to gently blot the surface of cheese pieces to remove any visible oil. This step is unique to cheese and not needed for fruits or vegetables.
Dryness test second: Pick up a piece from the center of the middle tray. It should be:
- Completely hard throughout — no soft, rubbery, or pliable sections
- Crunchy when you apply pressure, similar to a cracker or hard crisp
- Noticeably lightweight for its size
- Free of any internal moisture when you break a thick piece in half
If anything feels slightly soft or pliable, return trays to the machine for an additional 2 to 4 hour extended cycle and test again before packaging.
Step 7: Package Immediately
Freeze dried cheese reabsorbs moisture from the air just like all freeze dried food — and because of its porous structure after drying, it can soften noticeably fast in humid conditions. Work with urgency after the cycle. Use 7-mil mylar bags, add a 300cc oxygen absorber, heat seal twice, and test the seal before labeling. Aim to have all bags sealed within 10 to 12 minutes of opening the chamber.
Storage Life for Freeze Dried Cheese
| Storage Method | Expected Shelf Life | Notes |
|---|---|---|
| 7-mil mylar bag + 300cc O2 absorber + 55 to 70°F dark storage | 6 to 15 years | Best method for long-term food storage |
| Vacuum-sealed mason jar + O2 absorber | 1 to 3 years | Good for active-use pantry stock |
| Airtight container at room temperature | 1 to 4 months | Snacking use only — keep cool and dry |
| Open air | Hours to 1 day | Softens quickly — eat immediately |
What to Do With Freeze Dried Cheese
Once you have a successful batch, you will find uses for freeze dried cheese in more places than you initially expected. Here are some of the most popular ways home freeze dryers across the USA use their home-processed cheese:
- Snacking straight from the bag: The most popular use by a wide margin. Freeze dried cheddar bites have become a legitimate healthy snack obsession in the preparedness and homesteading community. High protein, satisfying crunch, no refrigeration needed.
- Camping and hiking food: Lightweight, calorie-dense, protein-rich, and requires zero refrigeration. A small sealed bag of freeze dried cheddar in your pack is one of the most practical high-fat-protein camping snack options available.
- Emergency food storage protein source: Dairy protein and fat calories stored shelf-stable for years is genuinely valuable in a comprehensive food storage plan.
- Pizza and pasta topping: Mozzarella and parmesan shreds rehydrate in the heat of cooking and produce results very close to fresh shredded cheese in baked dishes and hot soups.
- Parmesan powder for cooking: Freeze dried parmesan grinds easily into a rich, flavorful powder in a blender or food processor. Use it exactly like fresh grated parmesan in pasta, risotto, and sauces — with zero refrigeration requirement.
- Cheese sauces and dips: Reconstitute freeze dried cheddar in warm milk or cream to make a quick cheese sauce for macaroni, nachos, or vegetables. The concentrated flavor produces a more intense sauce than you would get from the same amount of fresh cheese.
- Trail mix and snack mixes: Combine freeze dried cheddar bites with nuts, pretzels, and freeze dried fruit for a savory-sweet trail mix that packs a serious calorie punch in a small, lightweight package.
Watch for markdown sales on block cheese at your local Kroger, Walmart, or Costco — stores often discount blocks approaching their sell-by date significantly. Sharp cheddar at 40% off is still premium freeze dry material, and the finished product will outlast the fresh block by years. The cost per serving for home freeze dried cheese is typically 60 to 80% lower than commercial freeze dried cheese snack products.