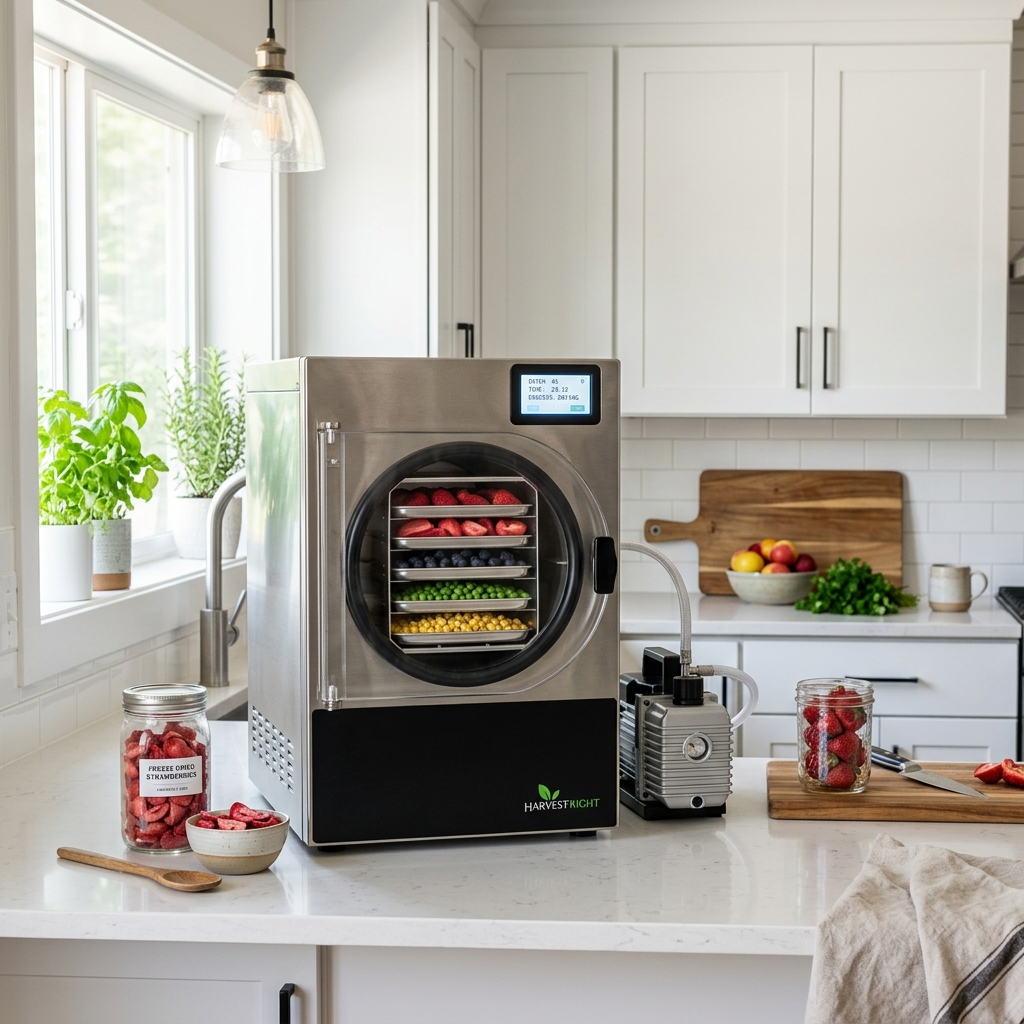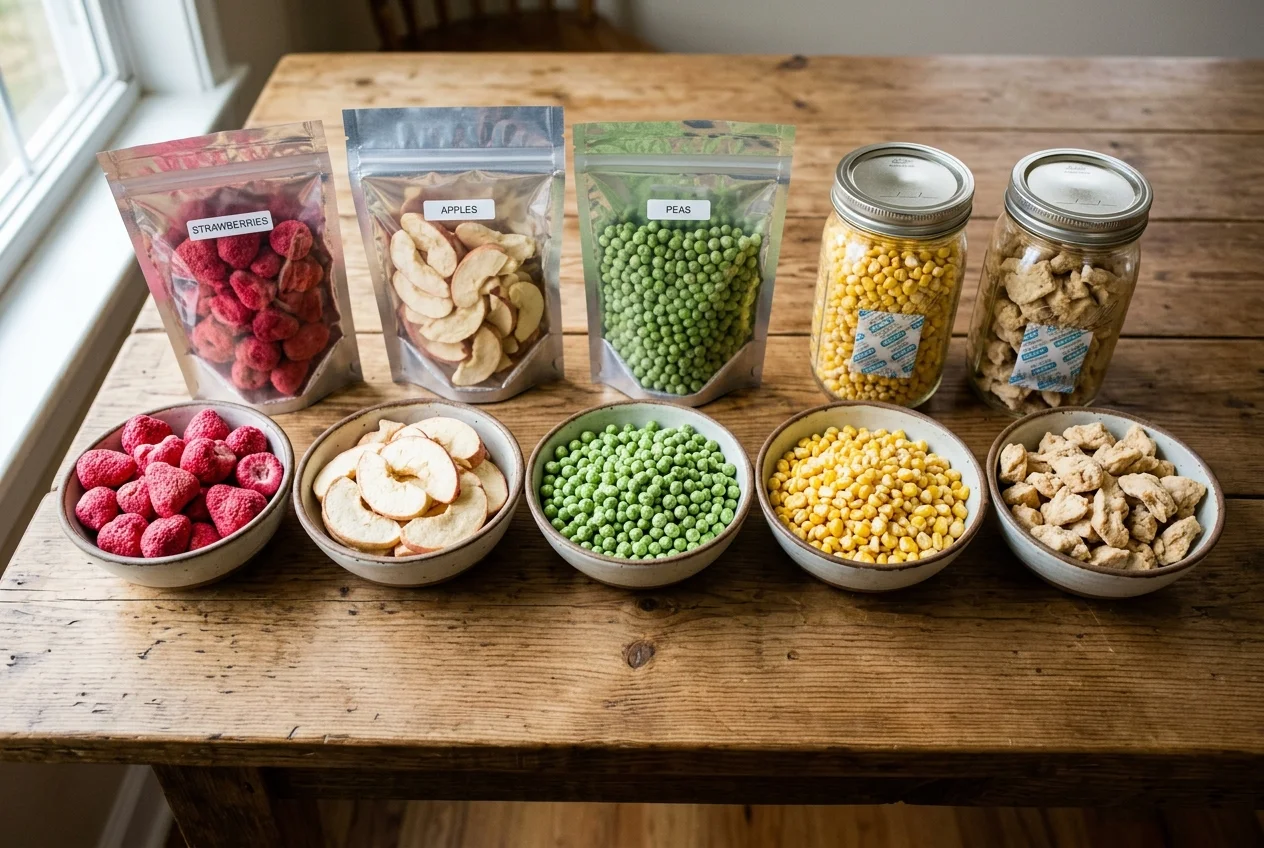
If there is one food that every single home freeze dryer owner ends up making at some point, it is strawberries. They are the unofficial mascot of home freeze drying, and for good reason. Freeze dried strawberries come out with an intensely concentrated flavor, a satisfying crunch that is almost addictive, and a shelf life that stretches up to 25 years when stored properly.
Whether you are running your very first batch or you have been freeze drying for a while and want to make sure you are doing it right, this guide covers every step in plain, practical detail. We will go from selecting the right berries all the way through sealing and storage, with tips along the way that took most Harvest Right owners months to figure out on their own.
Prep time: 20 to 30 minutes | Pre-freeze: 4 to 6 hours | Machine cycle: 24 to 32 hours | Total time: About 30 to 38 hours | Shelf life: Up to 25 to 30 years in mylar bags
Why Strawberries Are the Perfect First Project
New to freeze drying? Start with strawberries. Experienced and want a quick, reliable batch? Strawberries again. Here is what makes them such an excellent choice:
- High water content: At roughly 91% water, strawberries respond extremely well to the freeze drying process and produce beautiful results consistently.
- Intensified flavor: Removing nearly all the water concentrates every bit of flavor into what is left. Freeze dried strawberries often taste more like strawberry than the fresh berry itself.
- Forgiving prep: Unlike some produce that requires blanching or special treatment, strawberries just need washing, hulling, and slicing. Simple and fast.
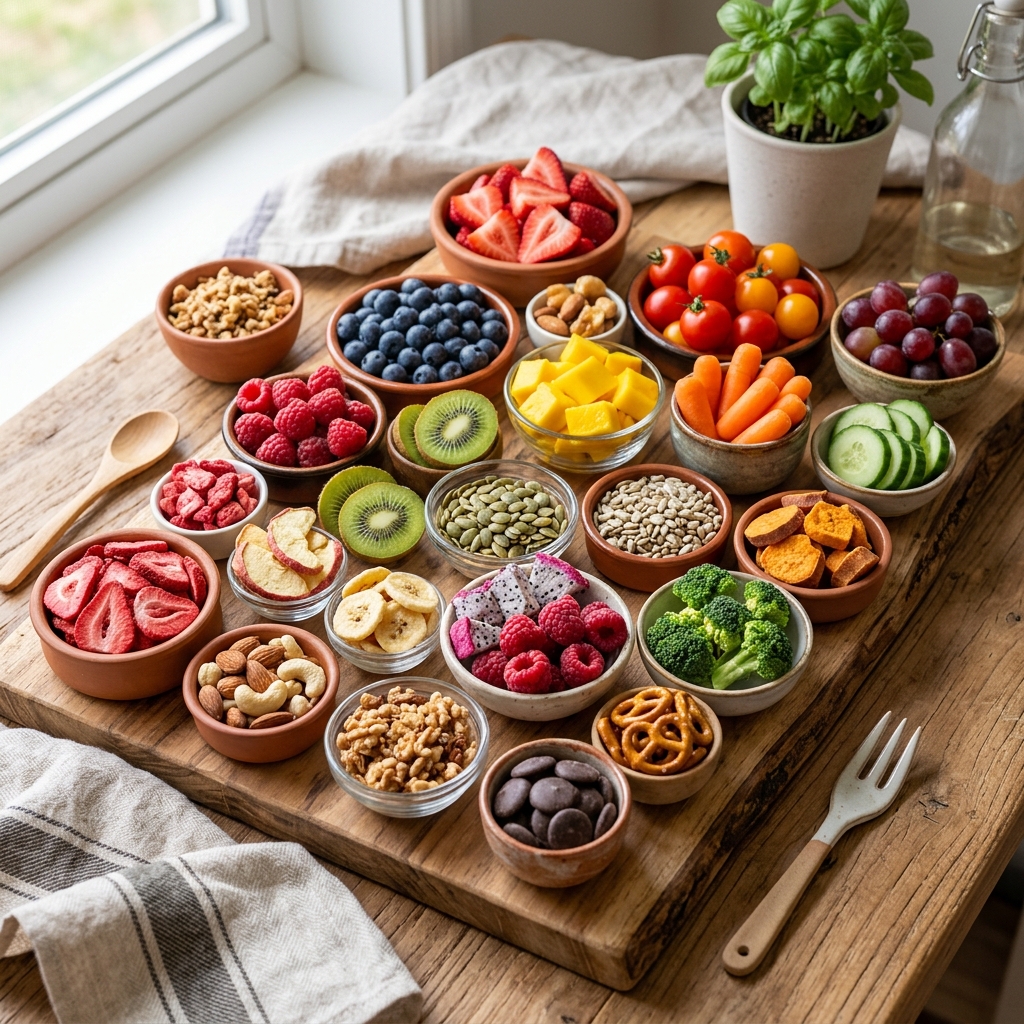
- Wide range of uses: Snacking, baking, smoothie powders, cereal toppings, trail mix. Freeze dried strawberries find their way into almost everything in the kitchen.
- Great financial ROI: A flat of fresh strawberries costs a fraction of what commercial freeze dried strawberries sell for. The savings become substantial over time.
What You Need Before Starting
Before loading your first tray, make sure you have everything ready. There is nothing more frustrating than finishing a 30-hour cycle and realizing you have no proper packaging materials prepared.
- Fresh or frozen strawberries: Fresh is ideal during peak season (May to July in most of the USA). Frozen pre-sliced strawberries work excellently in the off-season and skip the pre-freeze step entirely.
- A sharp knife and cutting board: For slicing fresh berries to consistent thickness.
- Your Harvest Right freeze dryer: Any size works identically for strawberries. The only difference is how many trays you load per batch.
- A regular kitchen freezer: Used for pre-freezing trays before loading into the machine. Not strictly required but strongly recommended.
- 7-mil mylar bags and oxygen absorbers: For long-term storage. Use 1-gallon bags with 300cc absorbers for standard batches.
- A heat sealer: Use a proper impulse sealer, not a FoodSaver. Standard FoodSaver units are too light for thick mylar bags.
- A kitchen scale (optional): Weighing trays before and after the cycle lets you track moisture removal and confirm complete drying objectively.
Choosing the Right Strawberries
Not all strawberries freeze dry equally, and the quality of your starting fruit directly impacts the quality of your finished product. Here is what works well and what to avoid.
Best choices:
- Ripe, firm strawberries at peak sweetness, not overripe or mushy
- Local farm-fresh berries during peak season for maximum flavor concentration
- Bulk bags from Costco or warehouse stores for year-round consistency
- Pre-sliced frozen strawberries from any grocery store. These are convenient and produce great results.
Avoid:
- Overripe, soft, or bruised berries. These contain more water and can produce mushy, unevenly dried results.
- Any berries with mold present. Contamination can spread during the long drying cycle.
- Out-of-season strawberries that have been in storage for weeks. Lower sugar content means less flavor intensity in the finished product.
When strawberries are on sale or at peak ripeness at your local farm stand, buy in bulk and freeze them immediately in single layers on baking sheets. Transfer to bags once frozen. This lets you run freeze dry batches throughout the year without worrying about fresh berry availability or spoilage.
Step-by-Step: How to Freeze Dry Strawberries
Step 1: Wash and Hull
Rinse all your strawberries under cool running water. Avoid soaking them since strawberries absorb water quickly, and extra surface moisture means a longer drying cycle. After rinsing, remove the green hulls with a sharp paring knife or a strawberry huller tool. Pat them dry lightly with a clean kitchen towel before slicing.
Step 2: Slice to Consistent Thickness
Slice your hulled strawberries to a consistent thickness of one quarter to one half inch. Consistency matters more than the exact measurement. If pieces vary widely in thickness, the thinner ones will be fully dry long before the thicker ones, leaving hidden moisture in the larger pieces that can cause problems later.
Small strawberries can be halved or even left whole, though whole berries take significantly longer, up to 36 to 40 hours, and should only be used when you have extra machine time available. For best results, stick with sliced pieces around one third inch thick.
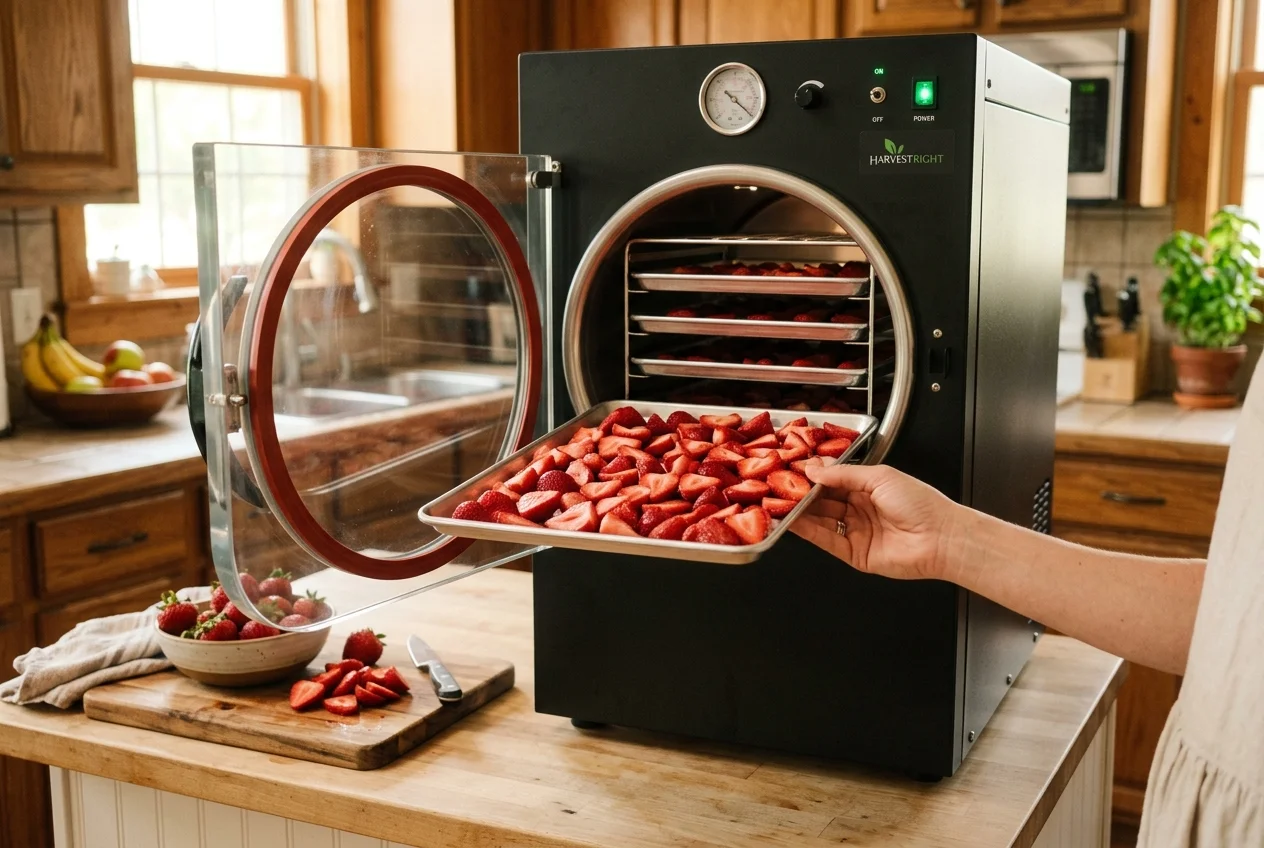
Step 3: Arrange on Trays
Lay sliced strawberries in a single layer on your freeze dryer trays. Leave a small gap between pieces. They do not need to be perfectly spaced apart, but avoid stacking or overlapping. Stacked pieces mean touching surfaces hold moisture longer while outer surfaces dry normally, leading to inconsistent results.
Fill each tray evenly from edge to edge. Leaving large empty sections is fine for the machine but means a smaller batch per cycle.
Step 4: Pre-Freeze in Your Regular Freezer
This single step separates efficient freeze dryers from beginners who wonder why their cycles always run so long. Placing your loaded trays into a regular kitchen freezer for four to six hours before loading the machine pre-freezes the strawberries completely solid.
When food enters the freeze dryer already frozen, the machine skips its own initial slow-freezing phase and goes directly to the sublimation phase. This typically shortens your total machine cycle by two to four hours. Across dozens of batches per year, that time savings adds up significantly.
Step 5: Load the Freeze Dryer and Start
Remove your pre-frozen trays from the kitchen freezer and load them quickly into the freeze dryer chamber. Slide trays in one at a time and make sure each tray sits level. Close and latch the door firmly, then press Start on your Harvest Right. The machine runs its automatic cycle, monitoring and adjusting everything internally. No manual settings are needed for strawberries.
For a medium Harvest Right loaded with pre-frozen strawberry slices, expect approximately 24 to 30 hours total cycle time. Whole berries or fresh non-pre-frozen berries may take 30 to 36 hours or more depending on ambient room temperature and tray load.
Do not stop a freeze dry cycle because you think the food looks done. The machine monitors moisture levels automatically and continues running as long as any moisture remains. Stopping early and sealing food with hidden residual moisture is the single most common cause of spoiled batches among new users.
Step 6: The Dryness Test
When the machine signals the cycle is complete, open the chamber and perform a dryness test before packaging anything. This step is not optional and should become a habit with every single batch you run.
Pick up a piece from the center of the middle tray, which is always the last spot to fully dry, and try to bend it. A properly freeze dried strawberry slice should:
- Be completely crispy and crunchy throughout. It should snap cleanly, not bend or flex.
- Have no soft, pliable, or chewy spots anywhere, including the thicker center sections.
- Feel noticeably light for its size compared to the fresh berry you started with.
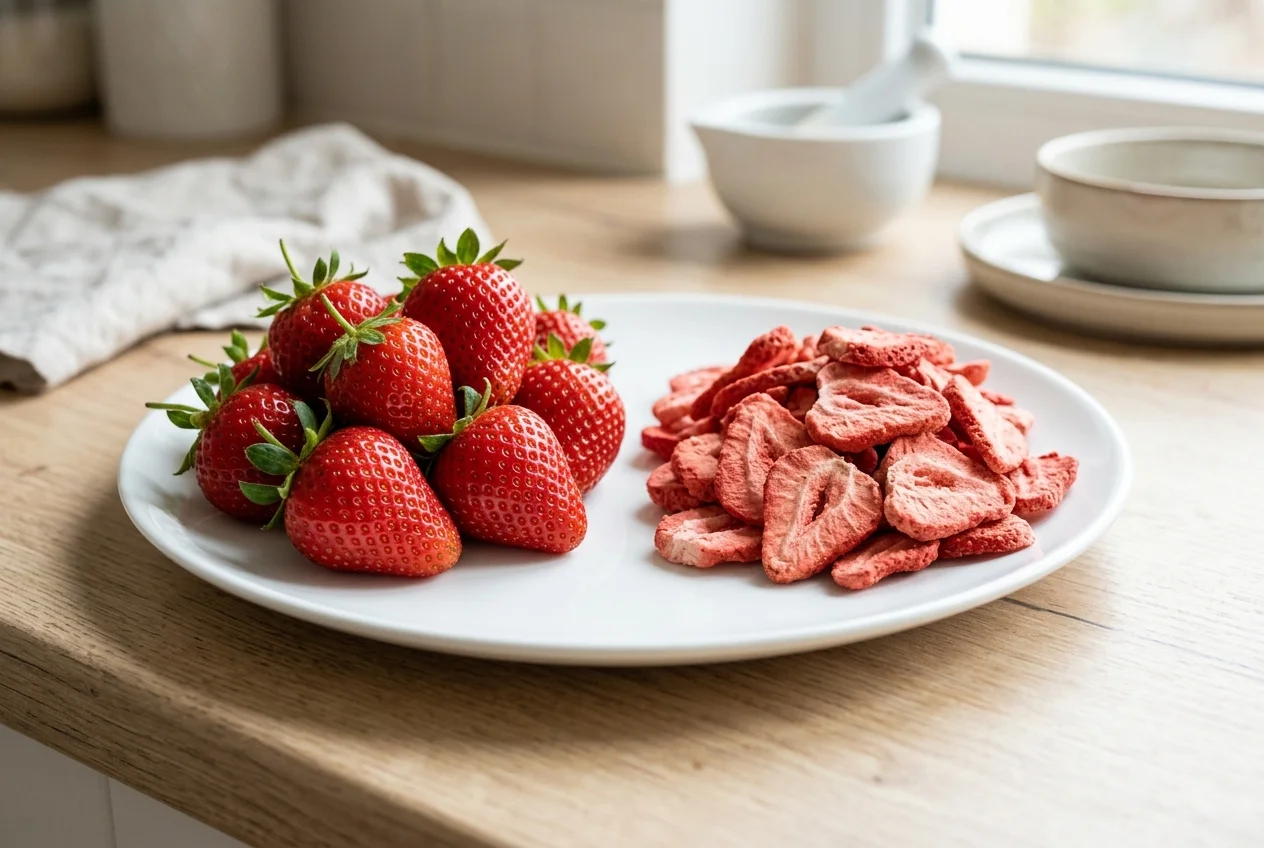
- Look slightly faded in color but maintain its original shape with good structural integrity.
If anything feels soft or bends without snapping, return all trays to the machine and run an additional two to four hour extended cycle. Check again. Repeat until everything is fully crispy throughout before packaging.
Step 7: Package Immediately
This is where many first-timers get caught off guard. Freeze dried food is extremely hygroscopic, meaning it pulls moisture directly from the surrounding air very rapidly. On a humid summer day in the USA, you can feel strawberries beginning to soften within five to ten minutes of exposure to open air.
The moment your dryness check passes, begin packaging with genuine urgency. Have your materials ready before you even open the machine door. Here is the exact process:
- Pre-label your mylar bags and have them open on the counter before pulling trays out of the machine.
- Transfer strawberries from each tray directly into a bag immediately.
- Drop in the correct oxygen absorber size. Use 300cc for 1-gallon bags.
- Run your impulse heat sealer across the top of the bag twice, leaving about one inch of headspace between the seal and the food surface.
- Let the seal cool for 30 seconds, then tug firmly on both sides. A proper seal will hold without separation. If it fails, reseal immediately before the absorber loses effectiveness.
- Label the bag with contents, date packed, and estimated use-by year before storing.
Storage Guide for Freeze Dried Strawberries
You have done all the hard work. Now protect it. The storage environment determines whether your strawberries last 5 years or 25 years. The fundamentals are genuinely simple:
- Cool, stable temperature: A basement, interior pantry, or climate-controlled closet at 55 to 70 degrees F is ideal. Every 10 degrees warmer roughly halves the effective shelf life.
- No direct light: Mylar blocks UV light naturally, but store bags away from windows regardless to protect vitamins from long-term light degradation.
- Off the floor: Elevate bags on shelves rather than setting them directly on concrete floors, which transfer cold and moisture differently than surrounding air.
- Away from strong odors: Freeze dried food can absorb strong scents through minor packaging imperfections over very long storage periods. Keep away from cleaning products or gasoline storage areas.
| Storage Method | Expected Shelf Life | Best Used For |
|---|---|---|
| 7-mil mylar bag + oxygen absorber + cool dark storage | 25 to 30 years | Long-term emergency preparedness |
| Vacuum-sealed mason jar + oxygen absorber | 3 to 5 years | Regular rotation stock, easy access |
| Regular airtight container | 6 to 12 months | Active daily or weekly snacking use |
| Open bowl or uncovered plate | Hours to a few days | Immediate serving only |
Creative Ways to Use Freeze Dried Strawberries
Once you have a successful batch sealed and stored, you will quickly discover how many uses freeze dried strawberries have beyond just snacking. Here are some favorites from the US freeze drying community:
- Snacking straight from the bag: The most popular use by a wide margin. The concentrated flavor and satisfying crunch make them genuinely addictive as a snack.
- Oatmeal and cereal topping: Add a handful to your morning bowl and watch them rehydrate slightly in the milk while delivering intense strawberry flavor to every bite.
- Baking: Crush freeze dried strawberries into chunks or powder and fold into muffins, cakes, or cookies for intense flavor without adding any moisture to your batter.
- Smoothie powder: Blend fully into a fine powder and use to flavor smoothies, yogurt, or protein shakes without requiring fresh fruit or ice.
- Trail mix: Combine with nuts, seeds, and dark chocolate for a lightweight, calorie-dense, genuinely delicious hiking and camping snack.
- Ice cream and frozen dessert topping: Crumble freeze dried strawberries over ice cream for an intensely flavored crispy topping that holds its crunch.
- Gifts and cottage food sales: Beautifully packaged freeze dried strawberries make thoughtful and impressive gifts. Many home freeze dryers also sell small quantities at local farmers markets. Check your state cottage food laws before selling commercially.
Troubleshooting Common Problems
Even experienced operators run into occasional issues. Here are the most common problems people encounter specifically with strawberries and what to do about each one:
Freeze dried strawberries are one of the best, most rewarding things you can make with a home freeze dryer. Nail the prep, do not rush the cycle, always perform the dryness test, and package quickly. Do those four things consistently and you will produce results that rival anything you can buy commercially.